A No Knead Bread Loaf for Busy Weekday Mornings
A no knead bread loaf offers a practical approach for those who wish to bake fresh bread during a busy weekday schedule. The method relies on a long, slow fermentation rather than mechanical kneading, allowing time to develop gluten structure and flavor while requiring minimal active involvement. With only four basic ingredients—flour, water, salt, and yeast—the process is straightforward and can be integrated into a morning routine with a few planned steps.
This article outlines the complete procedure for a slow rise bread using a standard home oven. It covers ingredient selection, mixing, fermentation timing, shaping, and baking with a focus on achieving a measured crust outcome. The instructions are designed to be adaptable to different schedules, emphasizing observation and simple techniques rather than specialized equipment.
Readers will find a clear, step-by-step guide that explains the reasoning behind each stage. The goal is to provide a reliable framework that can be repeated with consistent results, while acknowledging that variables such as room temperature and flour type can influence the final loaf. The approach is informational and process-oriented, suitable for both new and experienced bakers.
Ingredients and Equipment
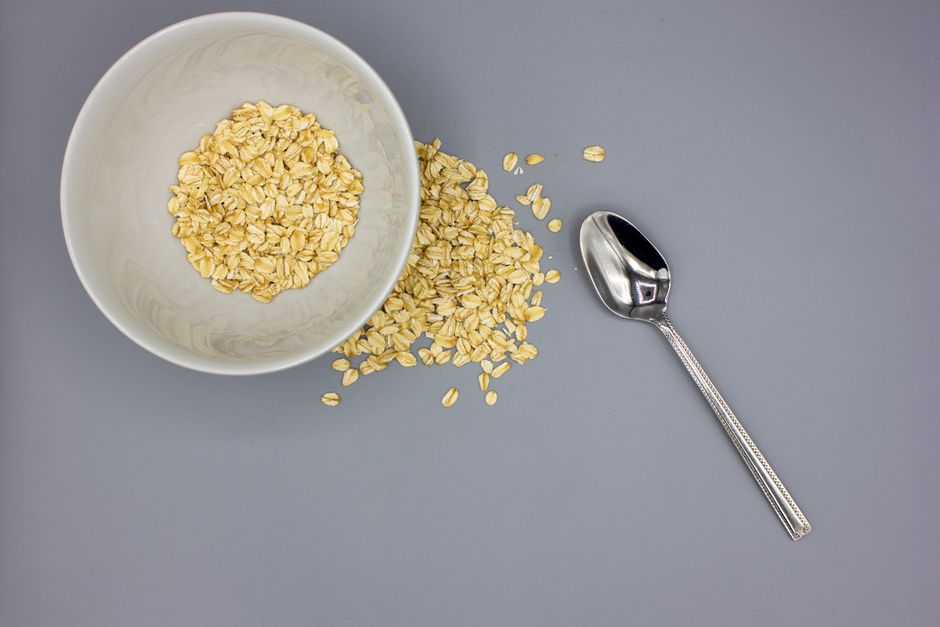
The recipe requires only four ingredients: all-purpose flour, water, salt, and instant yeast. For a standard loaf, use 3 cups (about 360 grams) of all-purpose flour, 1.5 cups (355 milliliters) of lukewarm water, 1.5 teaspoons of salt, and 0.5 teaspoon of instant yeast. These proportions yield a moist dough that benefits from a long fermentation. It is important to measure ingredients accurately for consistency, using a kitchen scale if available.
Equipment needed includes a large mixing bowl, a spatula or wooden spoon, plastic wrap or a clean kitchen towel, a Dutch oven or a heavy pot with a lid, and parchment paper. A Dutch oven helps trap steam during baking, which contributes to crust development. Alternatively, a standard baking sheet with a inverted pot can be used, though results may vary. No stand mixer or kneading is required.
The choice of flour can affect the loaf’s texture and crust. All-purpose flour is widely available and works well, but bread flour may produce a slightly chewier crumb. Whole wheat flour can be substituted for a portion of the all-purpose flour for added flavor, though the hydration may need adjustment. Water temperature should be lukewarm (about 100°F or 38°C) to activate the yeast without killing it. Salt enhances flavor and regulates fermentation, while instant yeast is reliable and does not require proofing.
The Slow Rise Process
The slow rise is the cornerstone of this method. Begin by combining the flour, salt, and yeast in a large bowl. Add the water and mix with a spatula until no dry flour remains. The dough will be sticky and shaggy. Cover the bowl with plastic wrap or a damp towel and let it rest at room temperature for 12 to 18 hours. This extended fermentation allows gluten to develop naturally and builds flavor complexity.
During fermentation, the dough will rise and may bubble. The timing can be adjusted to fit a busy schedule: mix the dough in the evening and bake the next morning, or mix in the morning and bake in the evening. A longer fermentation (up to 24 hours) can deepen the flavor, but may require a cooler spot to prevent overproofing. Room temperature plays a significant role; in a warm kitchen, the dough may rise faster, while a cooler environment slows the process.
After fermentation, the dough should be doubled in size and show visible bubbles on the surface. It will be loose and sticky. Prepare a work surface with a light dusting of flour. Using a spatula, turn the dough out onto the floured surface. With lightly floured hands, gently shape the dough into a round by folding the edges toward the center. Avoid punching down or kneading; the goal is to preserve the gas bubbles that have formed.
Place the shaped dough on a piece of parchment paper, cover, and let it rest for 1 to 2 hours while the oven preheats. This second rise allows the dough to relax and slightly puff up. Meanwhile, preheat the oven to 450°F (230°C) with a Dutch oven inside for at least 30 minutes. The hot pot creates a steamy environment when the dough is added, which aids in crust formation.
Baking in a Standard Oven
Carefully remove the preheated Dutch oven from the oven and remove the lid. Lift the parchment paper with the dough and place it into the hot pot. Score the top of the dough with a sharp knife or razor blade, if desired, to allow expansion. Cover with the lid and bake for 30 minutes. The lid traps steam, which helps the crust develop a glossy, crackly texture.
After 30 minutes, remove the lid and continue baking for another 15 to 20 minutes, or until the crust is a deep golden brown. The internal temperature should reach about 210°F (99°C) for a fully baked loaf. The baking time may vary depending on the oven and the size of the pot. It is advisable to check the bread a few minutes before the end of the suggested time to prevent overbrowning.
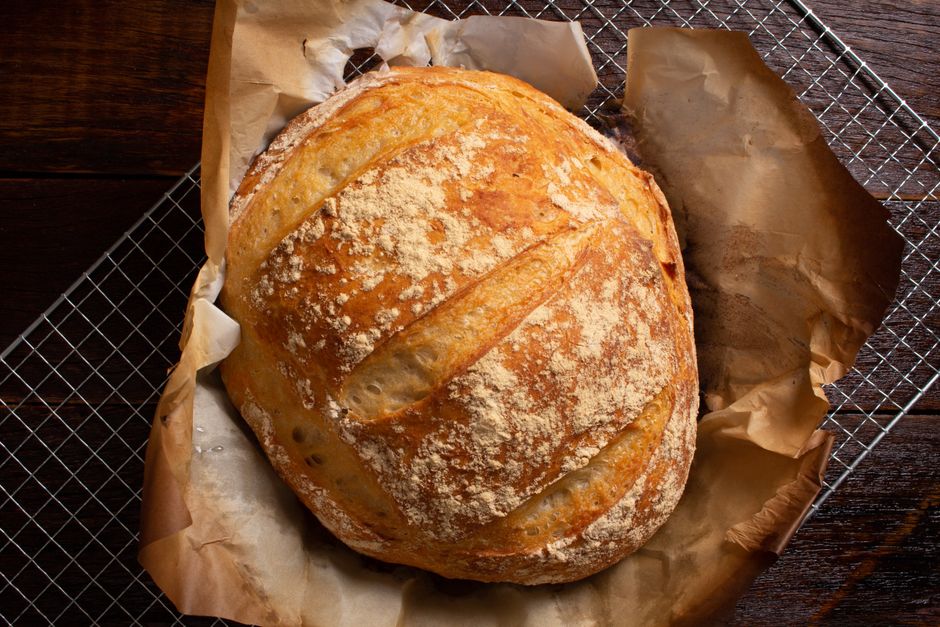
The measured crust result is characterized by a crisp, evenly browned exterior that crackles as it cools. The crust thickness can be influenced by the baking time and the amount of steam. For a thicker crust, extend the uncovered baking time slightly; for a thinner crust, reduce it. The bread should sound hollow when tapped on the bottom. Allow the loaf to cool completely on a wire rack before slicing to prevent the crust from becoming soggy.
Using a standard oven without a Dutch oven is possible by baking on a preheated baking stone or sheet pan and creating steam with a pan of hot water placed on a lower rack. However, the Dutch oven method is more consistent for home bakers. The key is to maintain a high temperature and introduce steam during the initial phase of baking.
Adapting to Weekday Mornings
For busy weekday mornings, the slow rise can be scheduled to minimize active time. Mix the dough in the evening, let it ferment overnight, then shape and bake in the morning. Alternatively, mix the dough in the morning, refrigerate it for a slow rise during the day, and bake in the evening. Refrigeration slows fermentation, allowing flexibility. The dough can be kept in the refrigerator for up to 24 hours after mixing.
To streamline the process, pre-measure ingredients the night before and have equipment ready. The second rise can be done while preparing for the day, and baking can coincide with other morning activities. The bread can be baked, cooled, and stored for several days. It can also be frozen for longer storage.
Factors such as room temperature, flour freshness, and yeast viability can affect fermentation times. It is helpful to observe the dough rather than rely strictly on time. A dough that is well risen and bubbly is ready to shape. If the dough seems sluggish, a longer fermentation may be needed. These adjustments are part of the process and contribute to a personalized baking rhythm.
Conclusion
The no knead bread loaf provides a practical method for incorporating fresh bread into a busy week. With four ingredients and a slow rise, the process requires minimal hands-on time and yields a loaf with a measured crust result. The technique is accessible and adaptable, allowing bakers to fit it into various schedules. By understanding the role of each step, from fermentation to baking, individuals can approach bread making with confidence and flexibility.
Home Plate Kitchen encourages a process-oriented approach to cooking and baking, emphasizing observation and simple techniques. This recipe is a framework that can be adjusted based on available ingredients and time constraints. As with any baking endeavor, results may vary, and experimentation is part of the learning process.